Craft corner: Costume Challenge // Day 3 worksheet
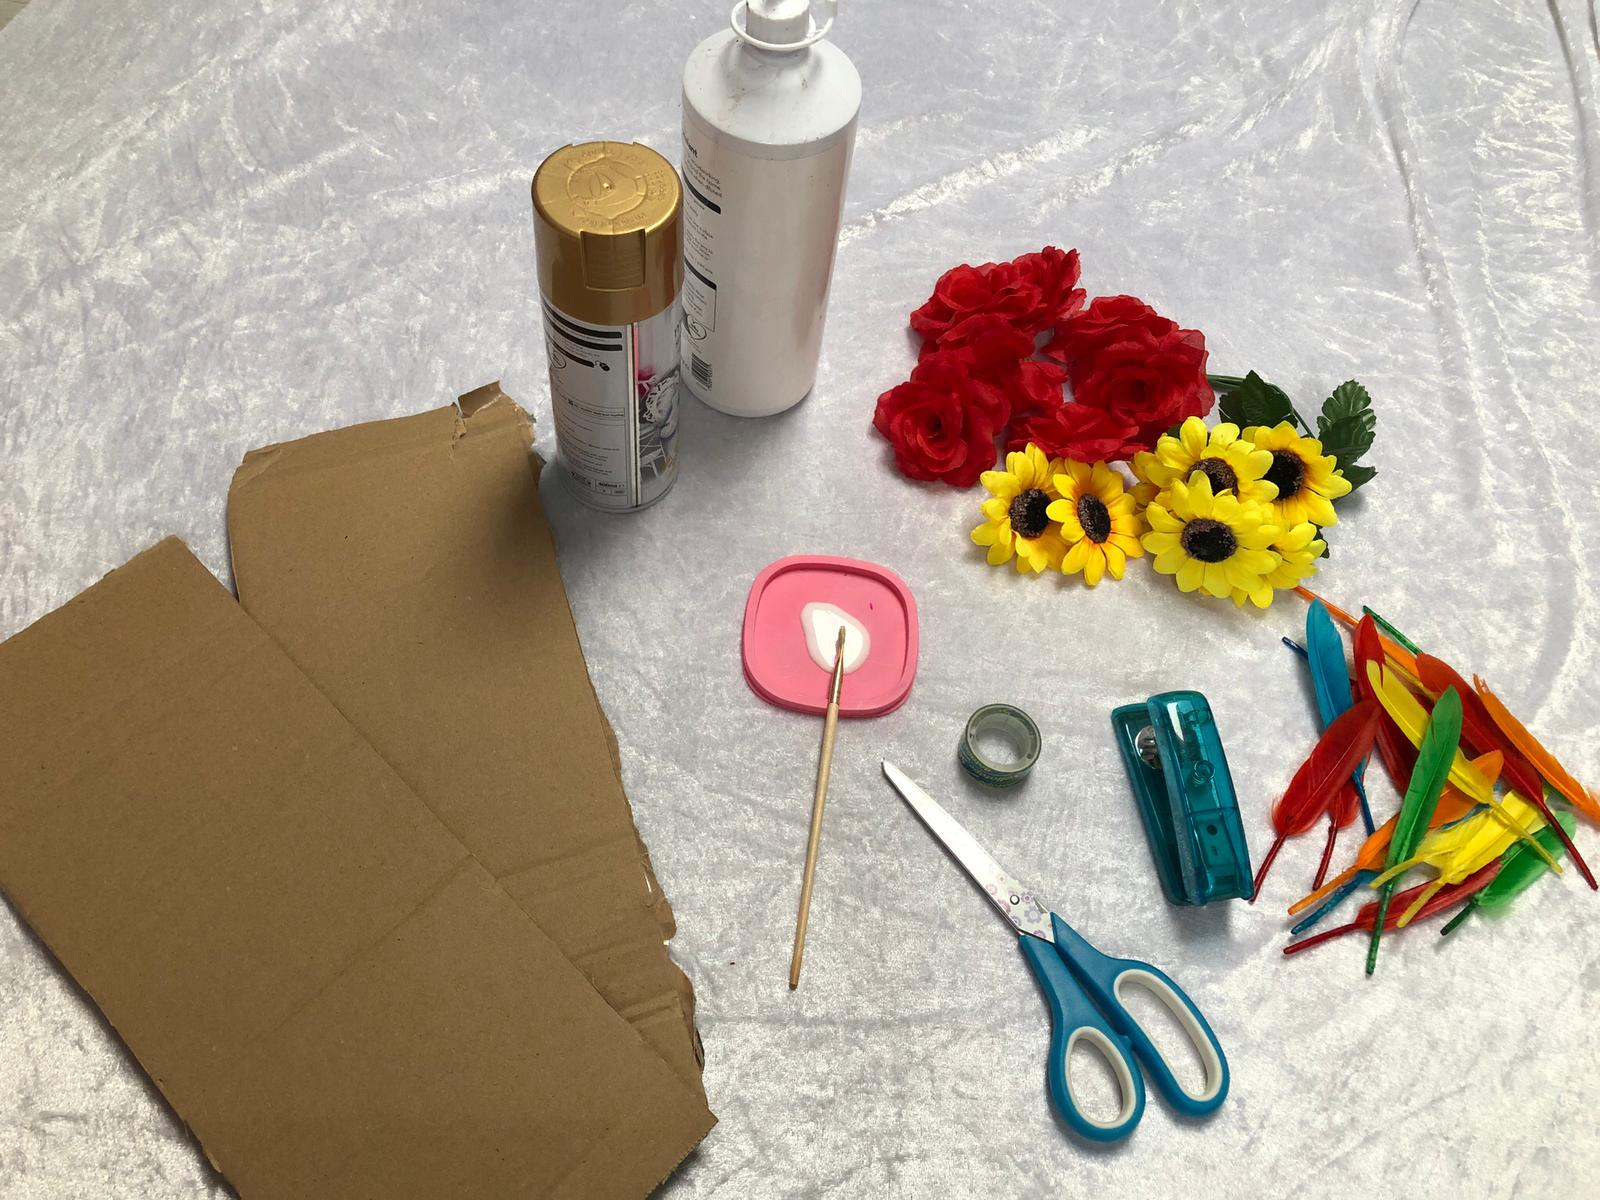
Materials
- Cardboard
- Stapler and staples
- Scissors
- Glue
- Decorations – anything and everything that you can find from around the house. Remember to ask permission first!
Step 1
First you need to create the base for your headpiece so that it fits your head. I used some thick cardboard cut off an old cardboard box to make it extra sturdy, but you could use a cereal box if you don’t have anything thicker.
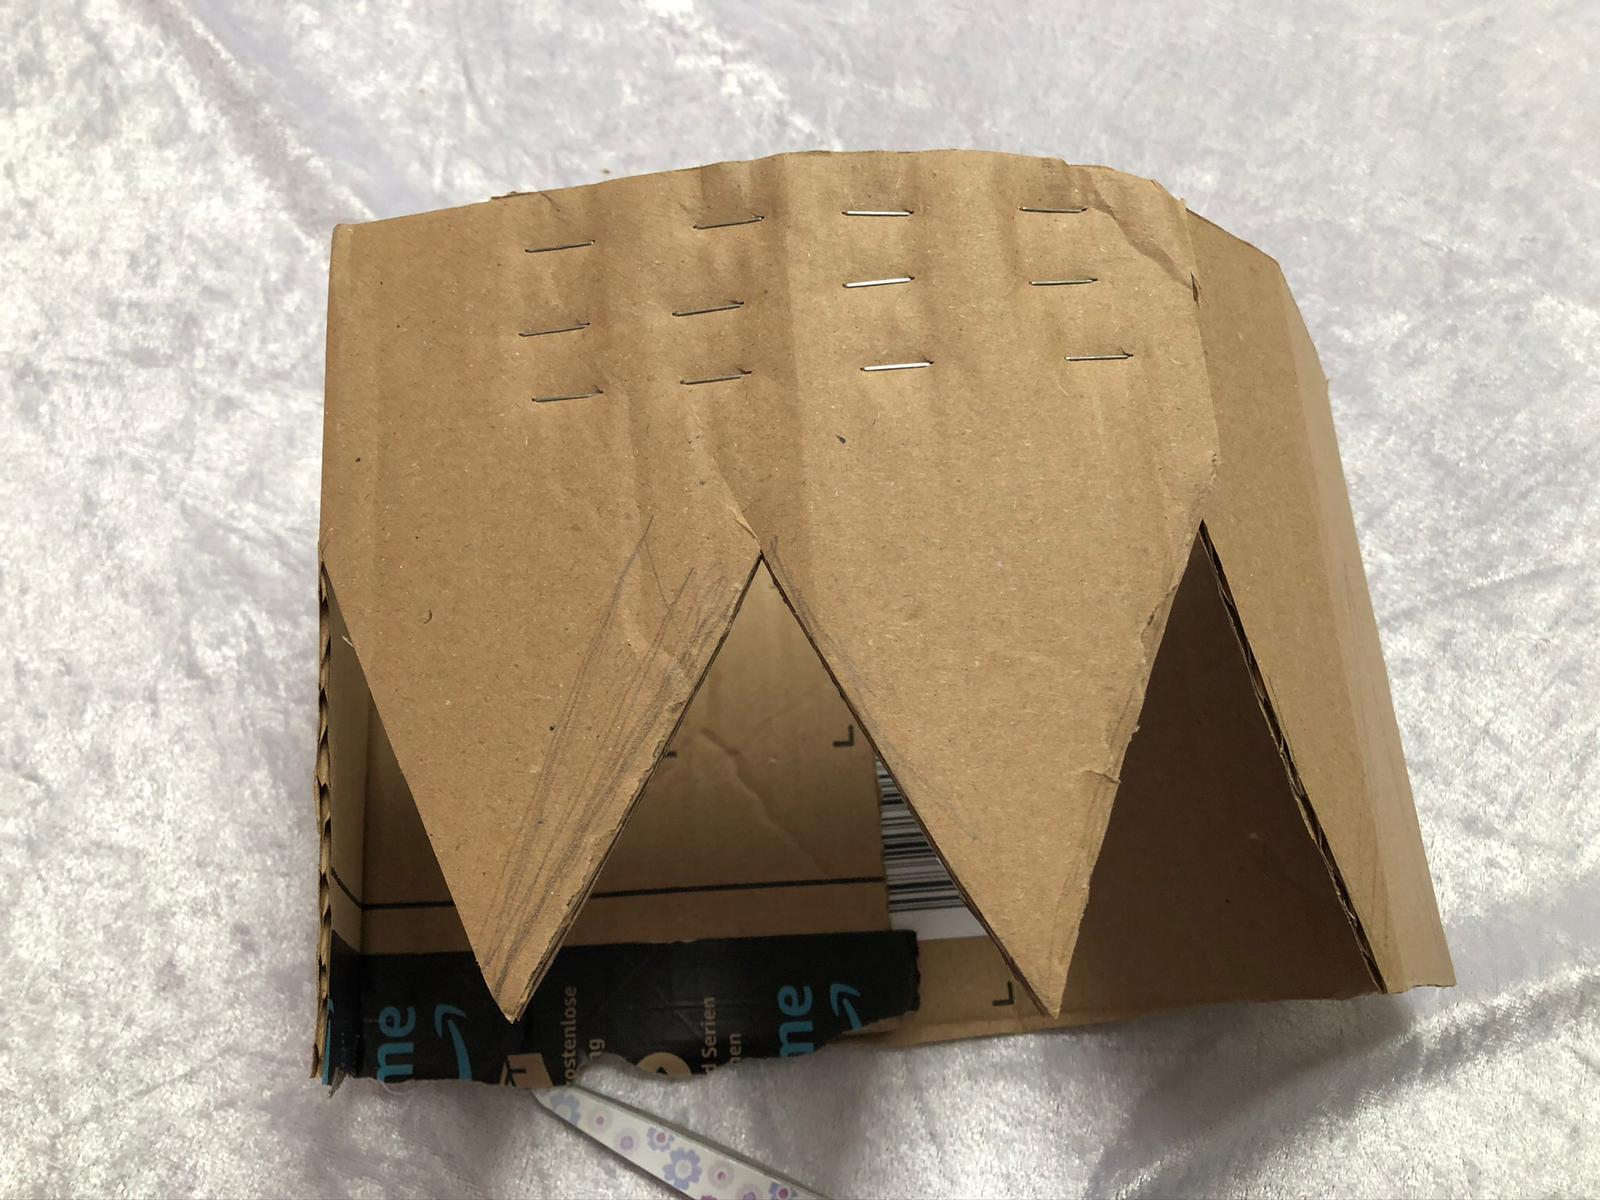
I couldn’t find one piece of cardboard that fit all the way around my head so I stapled two pieces together to make a longer piece. I then wrapped that piece of cardboard around my head and made a mark where the two ends came together, and then stapled it together to create a circular crown shape.
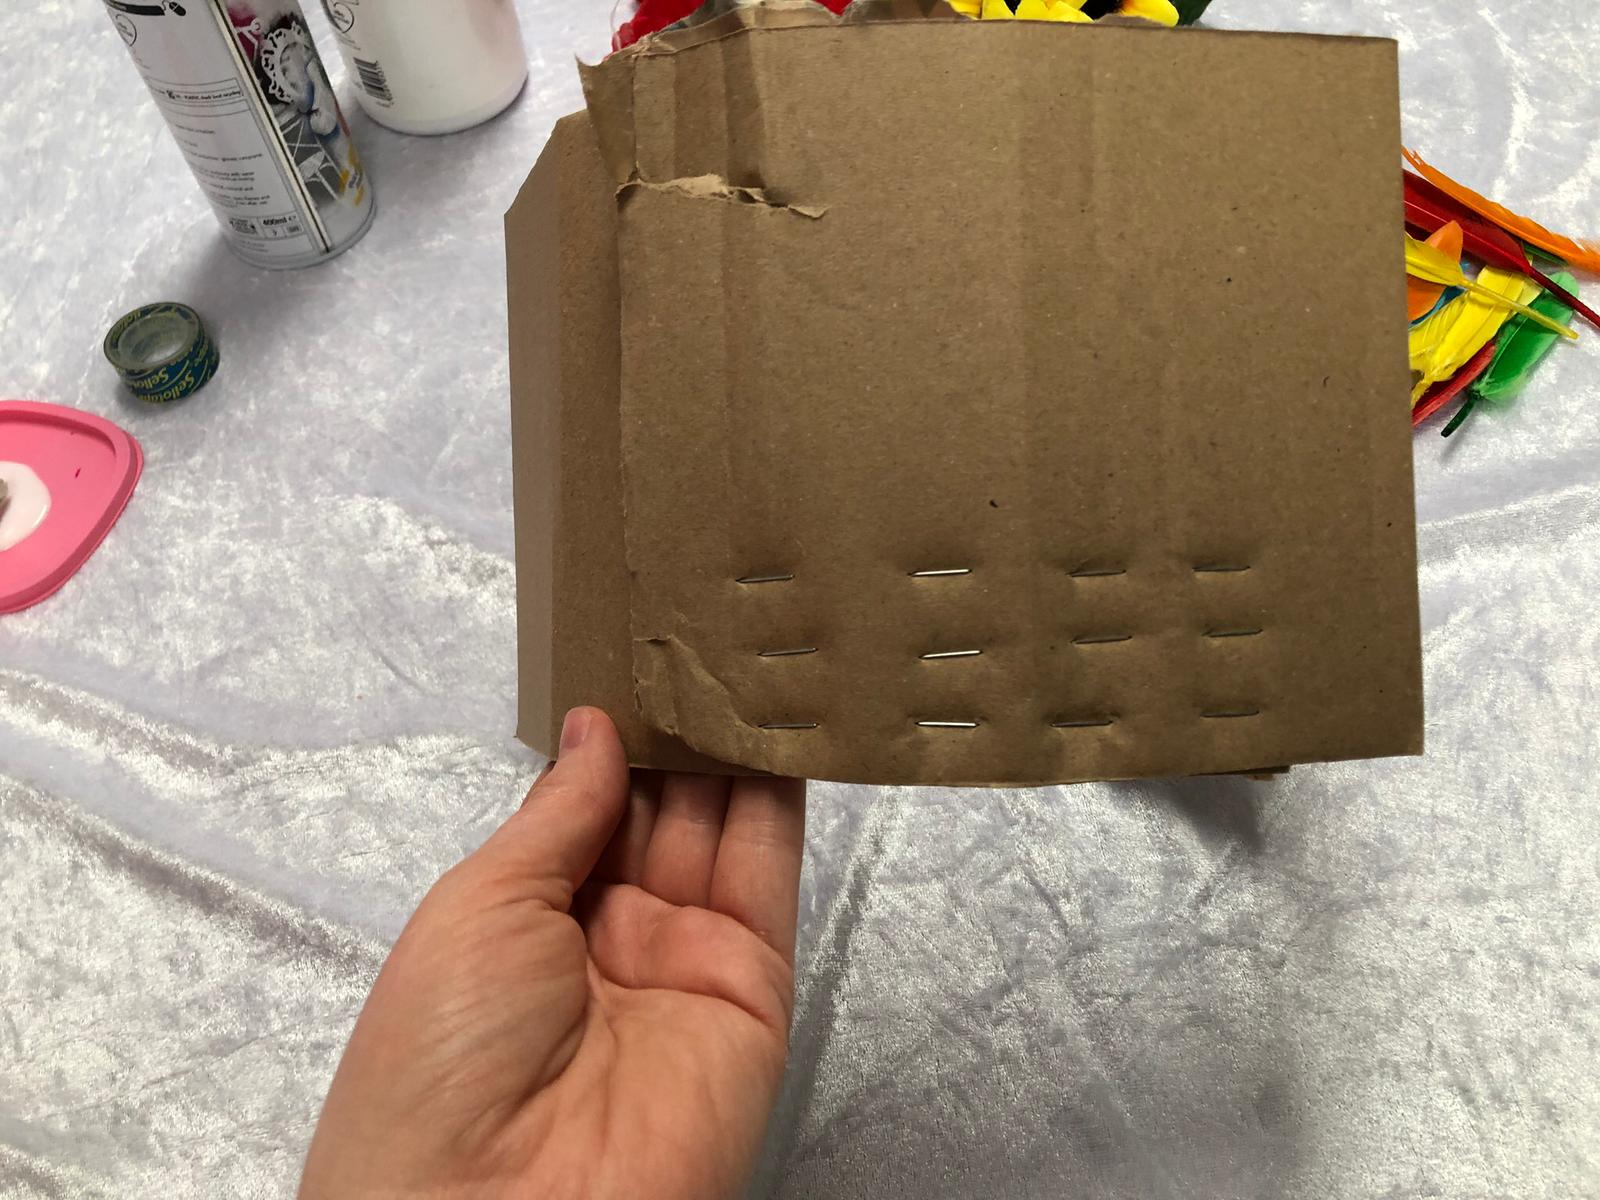
You might need someone to help you do that bit as it is a little tricky on your own! If you don’t have a stapler, you can glue the cardboard together instead, but I find that staples are a little more secure. You could also use some thick tape to reinforce it.
TIP: don’t worry if you can see the staples – you can always cover them up with decorations later.
Step 2
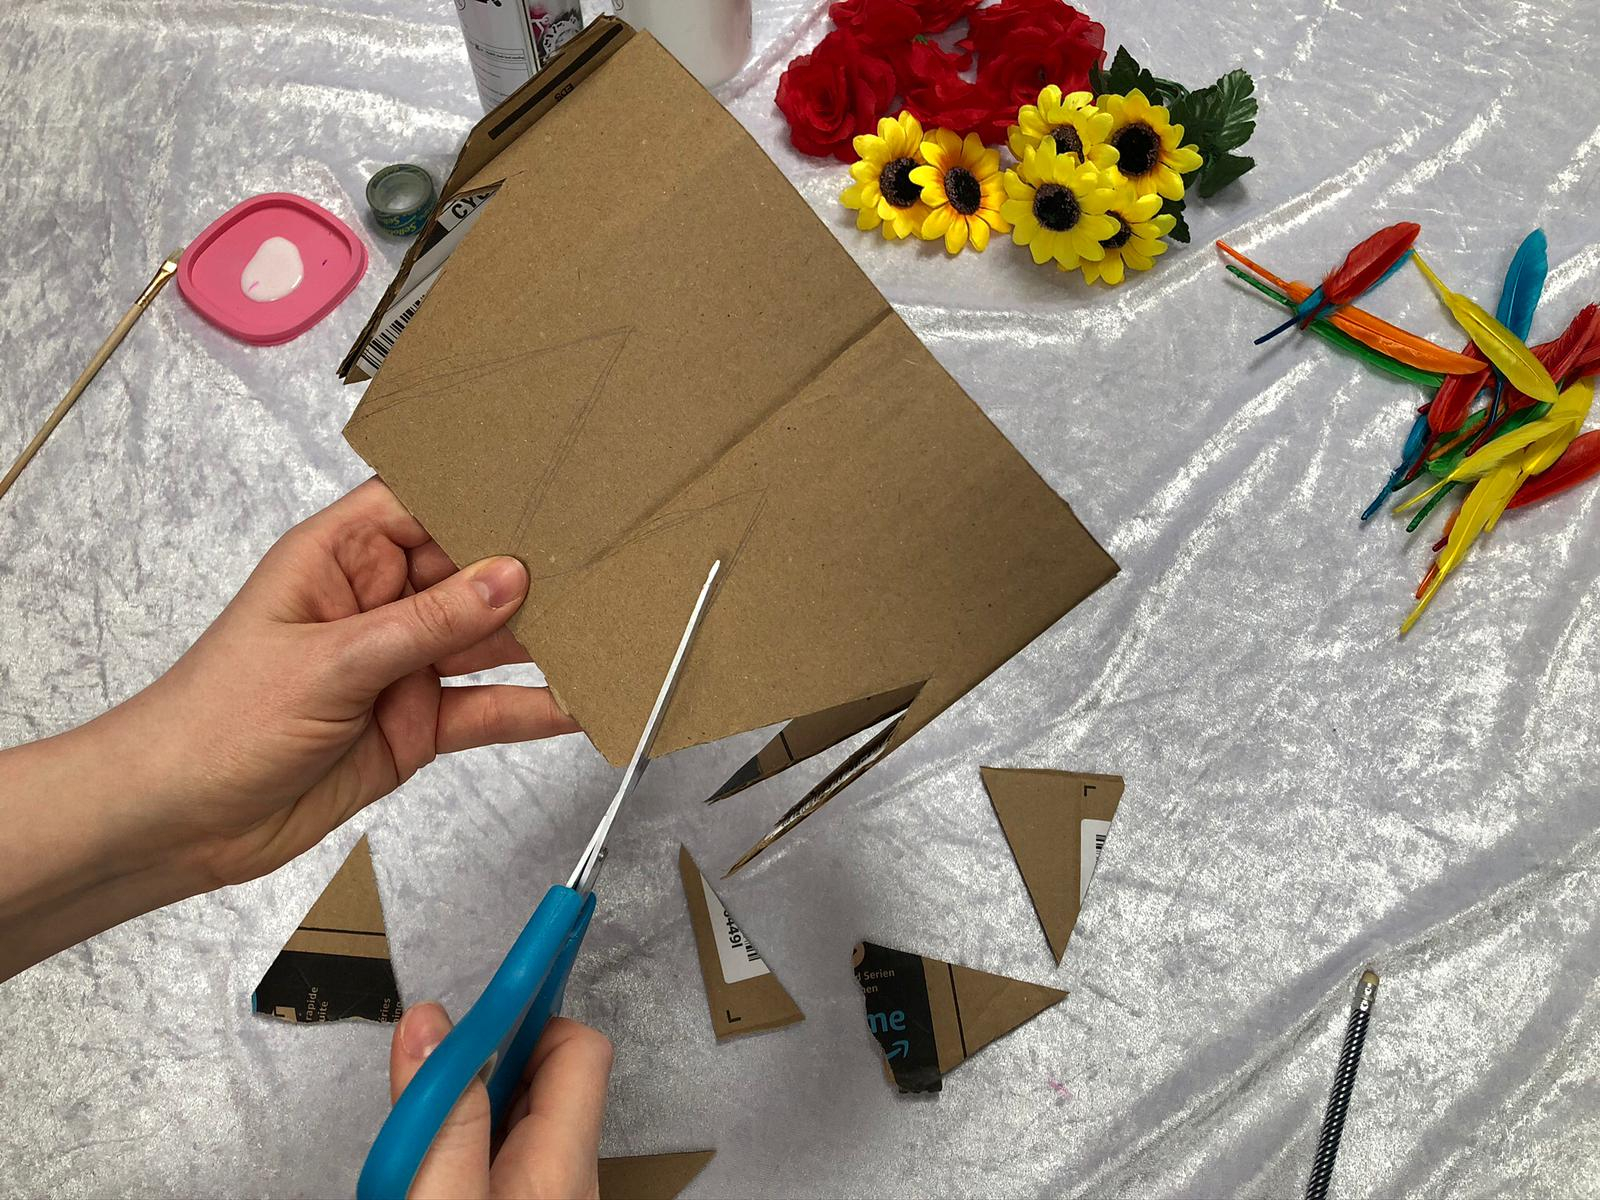
I went for a traditional crown shape for my headpiece and I did this by drawing triangles along one edge of my cardboard circle and cutting them out. Remember to get help from an adult when using scissors.
You don’t have to create a crown shape for your headpiece, you can come up with your own shape that suits your character so use your imagination and get creative! You might want to stick extra bits on your headpiece to make it really tall, or you might prefer something that looks more like a headband.
If you need some inspo, check out the pictures of our past panto characters on the website and see what they wore on their heads!
TIP: whatever shape you decide to go for, it might be best to draw it on first so you have got a guide for what you are cutting out.
Step 3
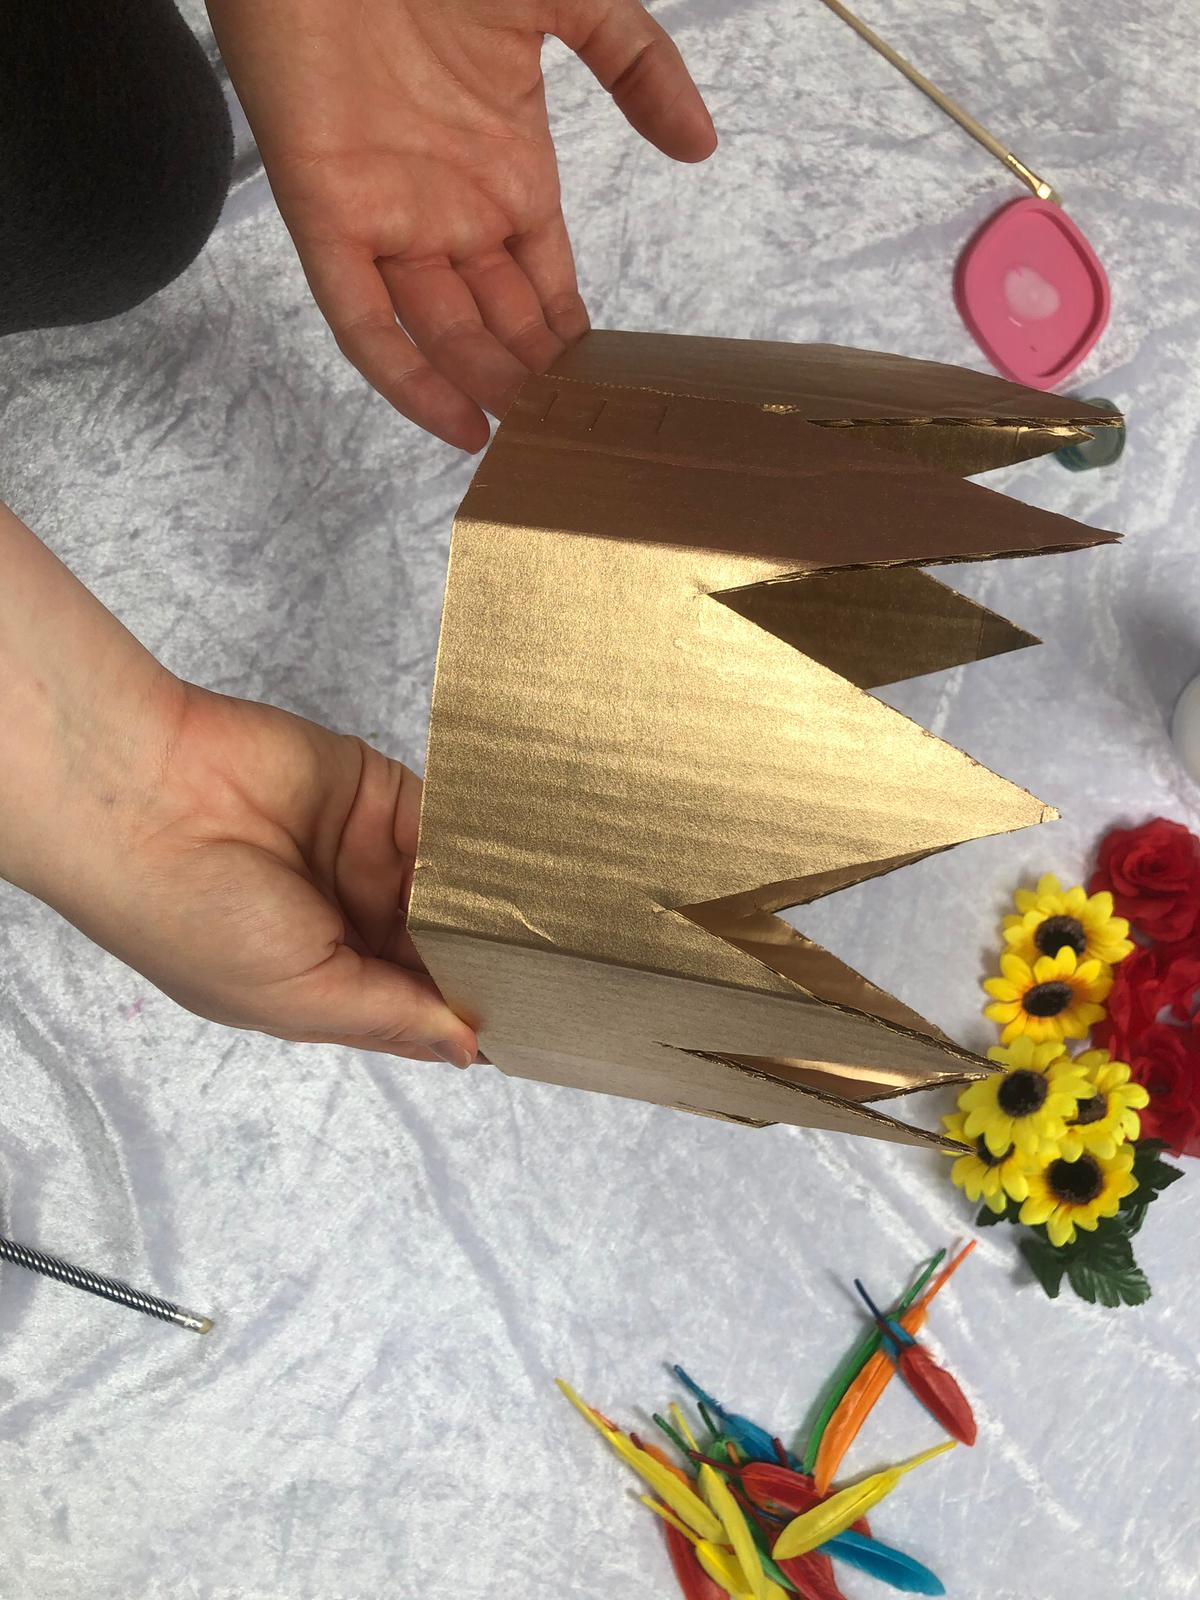
Now that you have got the shape for your headpiece, it’s time to colour it in! I painted mine a gold colour but remember that you can paint yours whatever colour you like! What colour would your character wear and why?
TIP: Let the paint dry before you move on to decorating your crown otherwise things could get messy!
Step 4
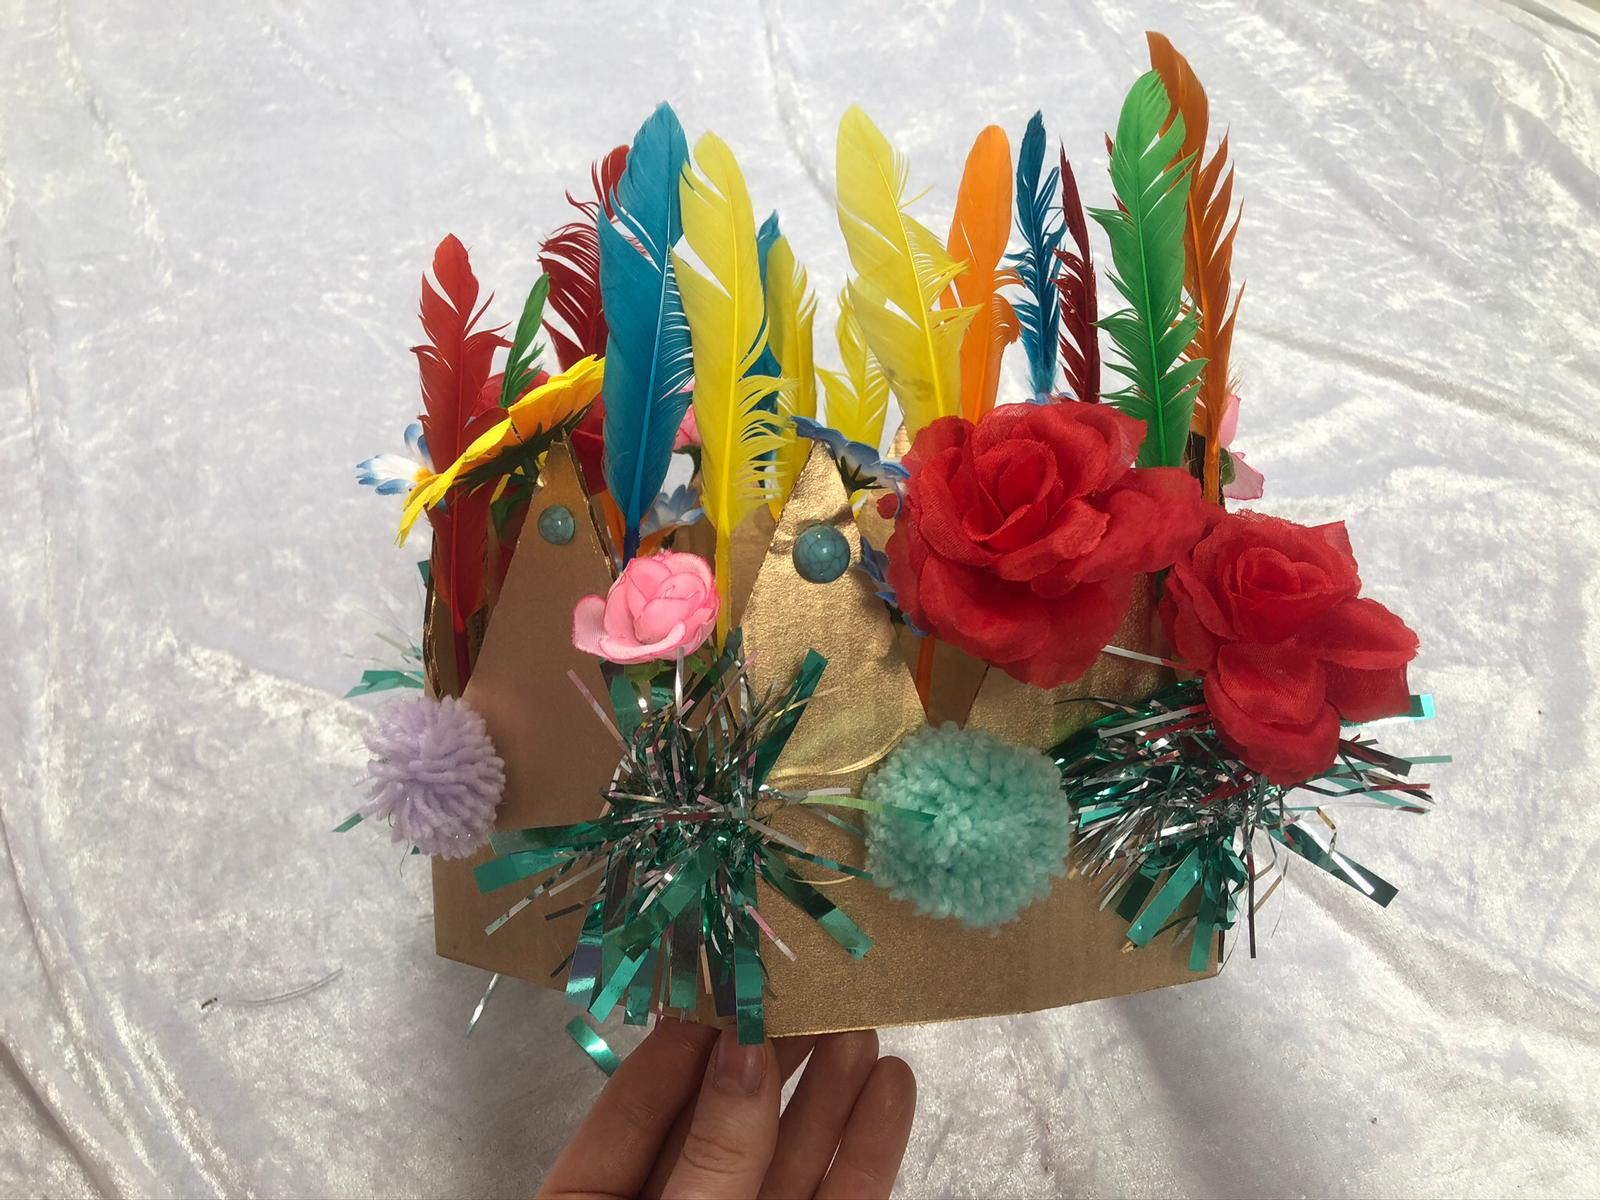
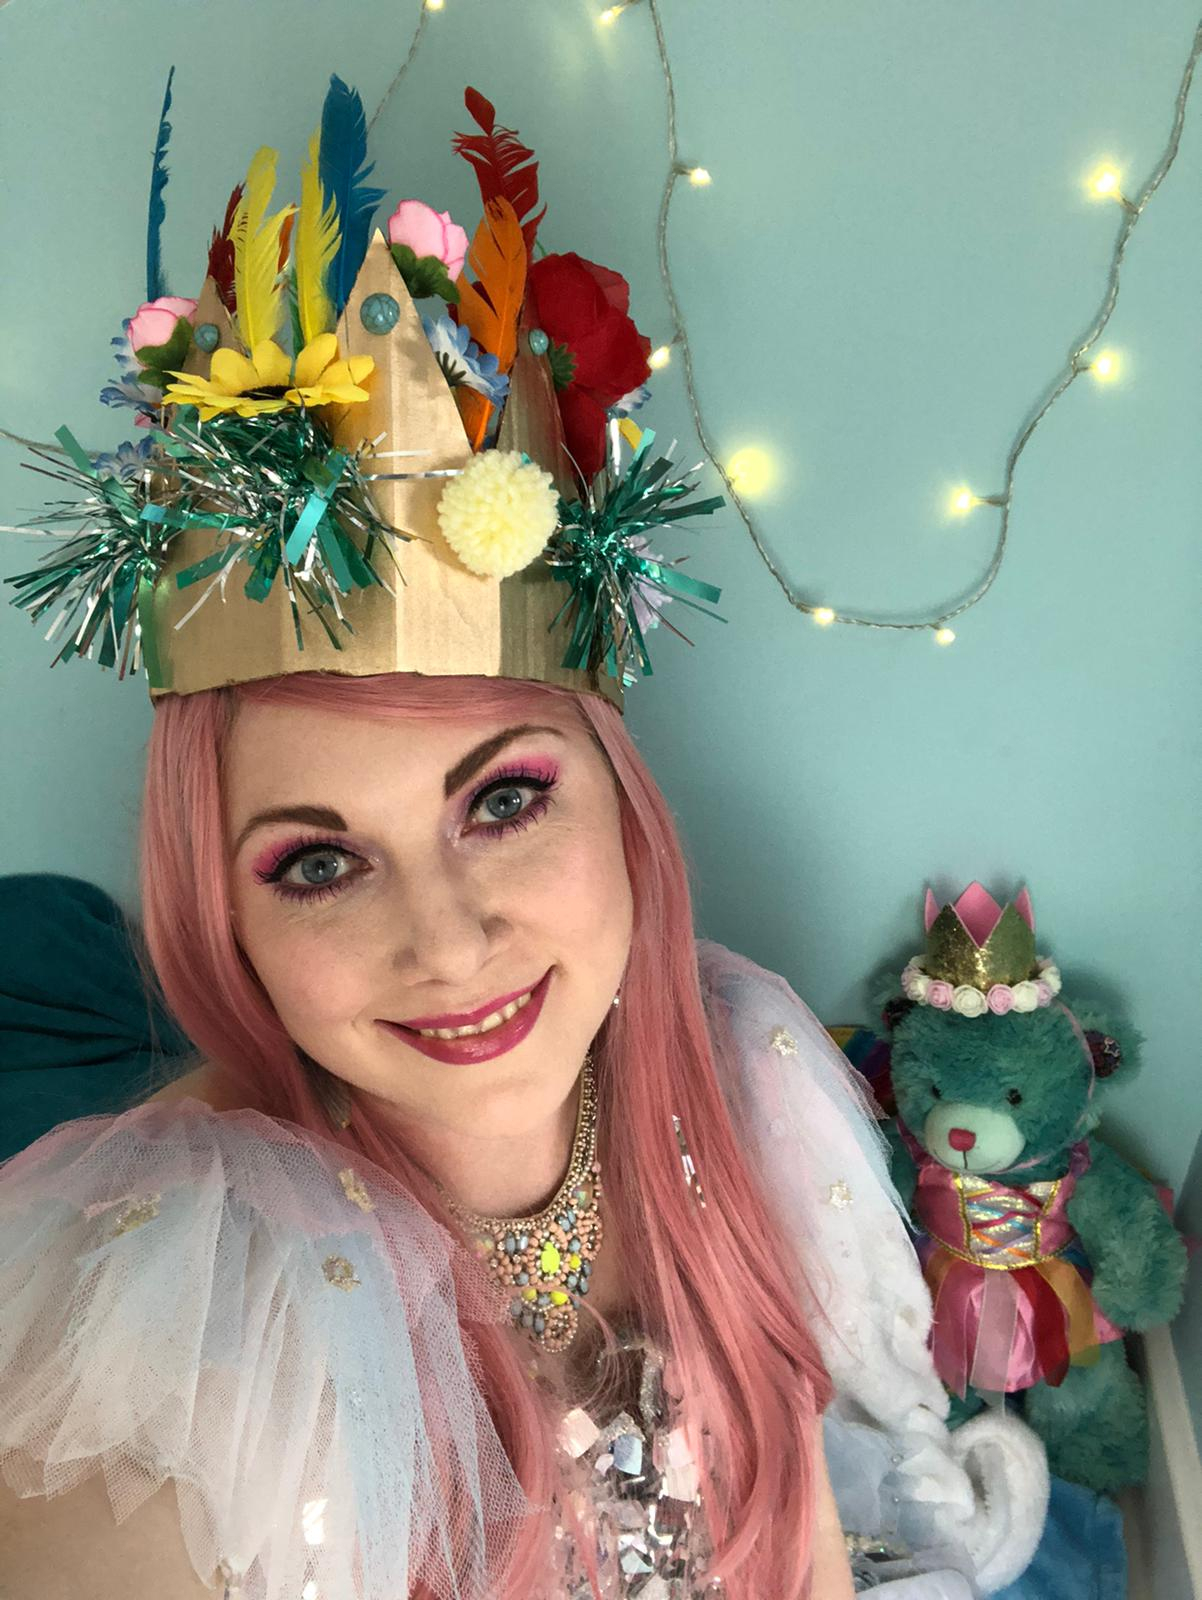
I’m a sparkly Garden Fairy from Twinkleland, so I decided to decorate my crown using things that remind me of my home, such as flowers and feathers. I couldn’t choose my favourite colour so I used every colour under the rainbow to really show my personality. What decorations would your character use?
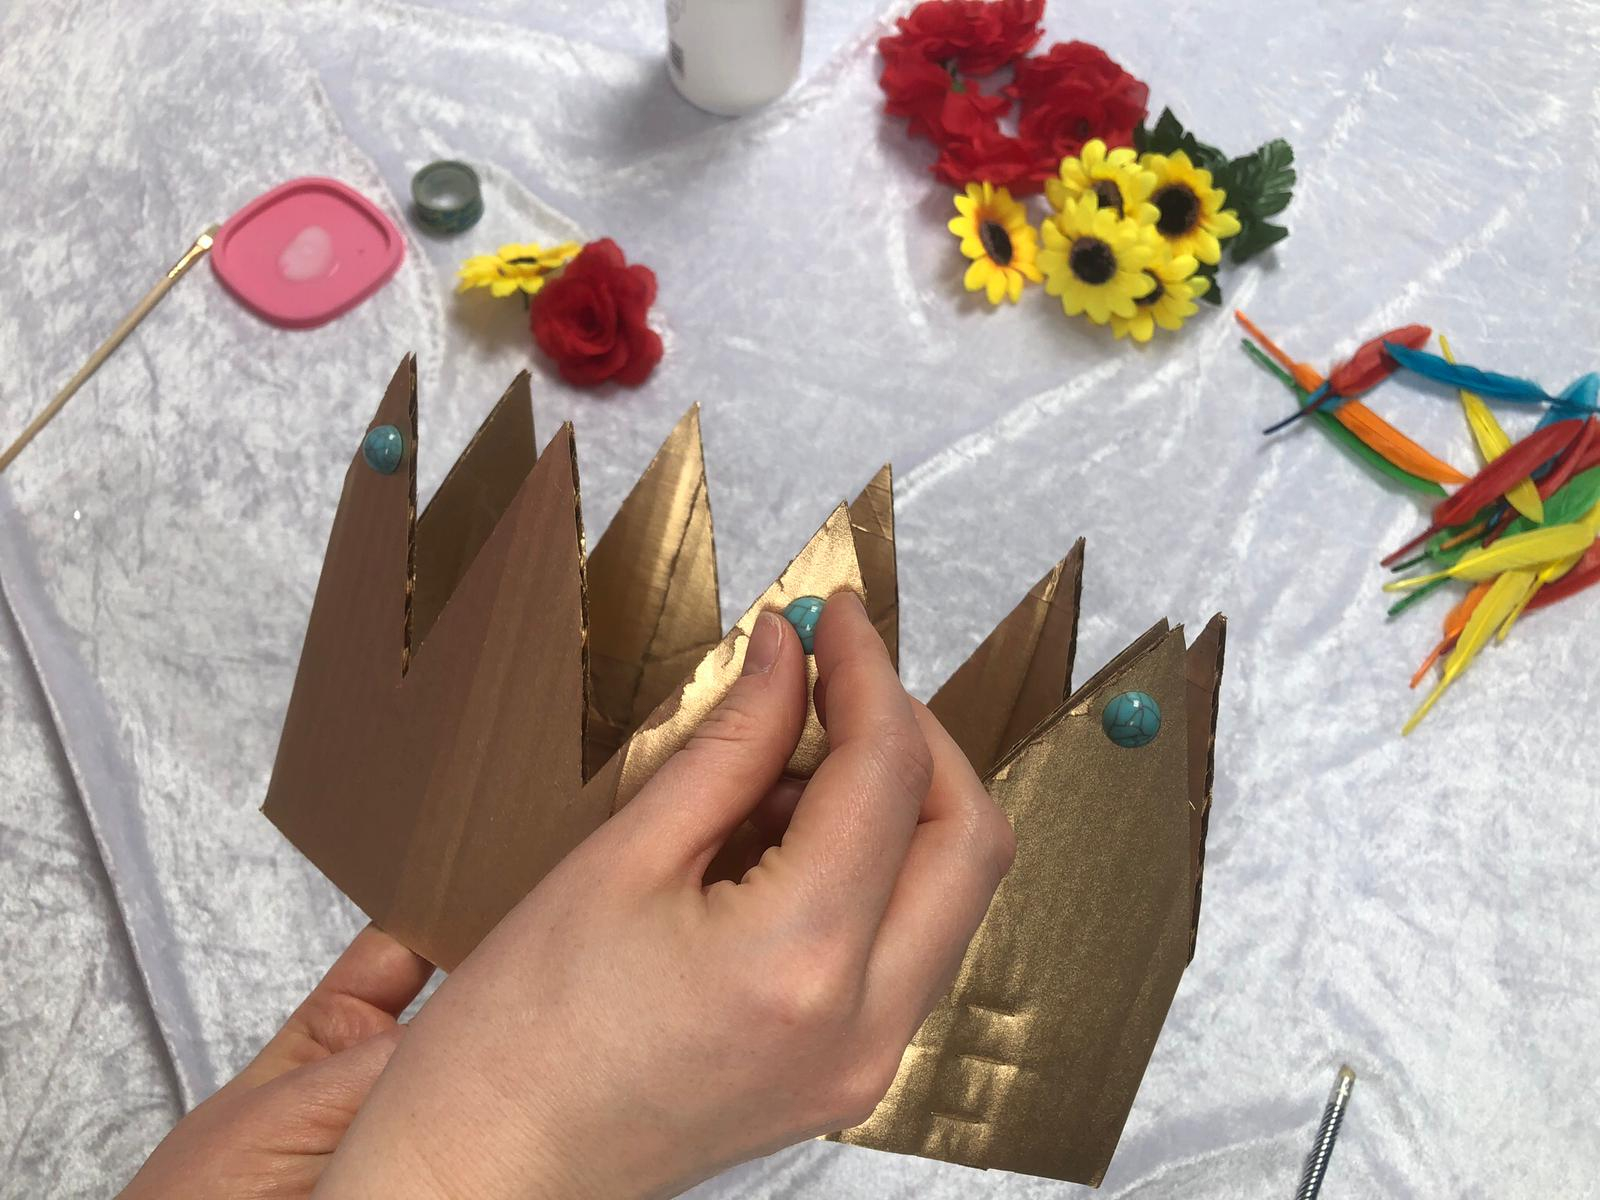
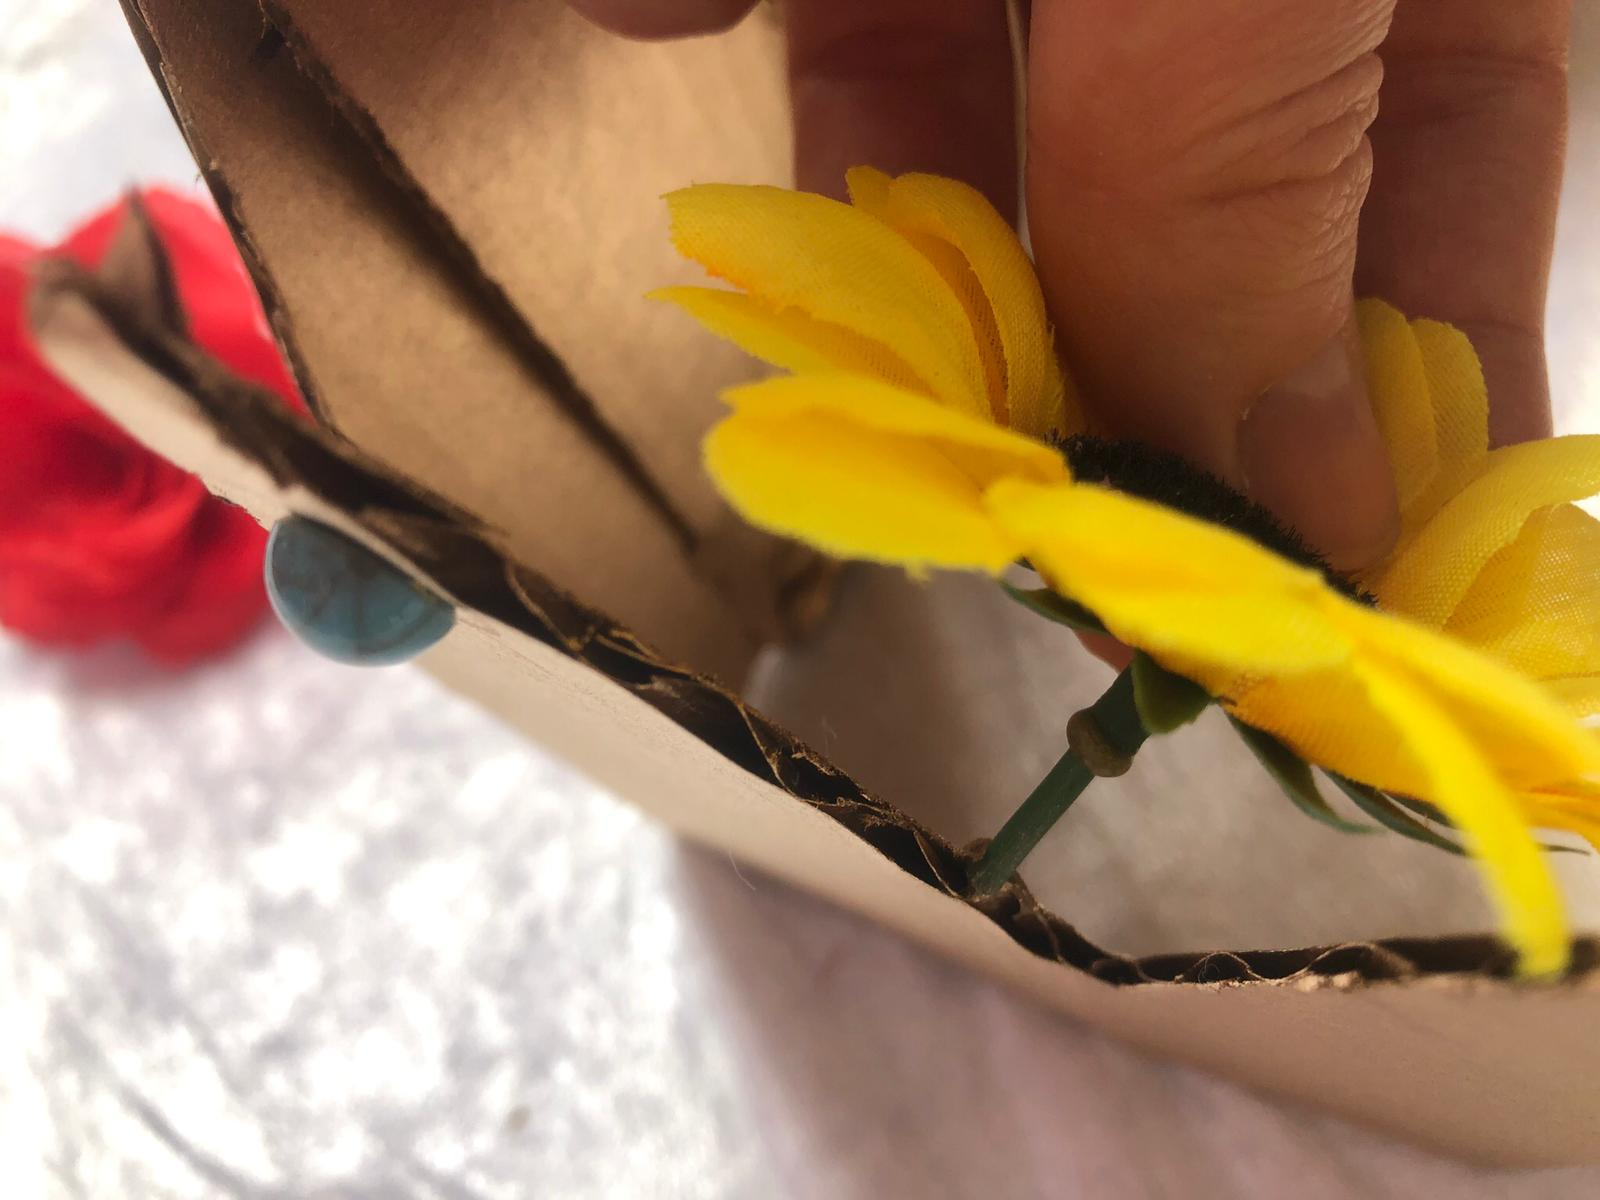
I stuck on some sticker gems and the glued on some leftover pom-poms that I had. Be imaginative when it comes to choosing your decorations. There are lots of household items that might be perfect for your character and you may find them in the recycling bin, the kitchen cupboard or outside. Always ask permission before using anything!
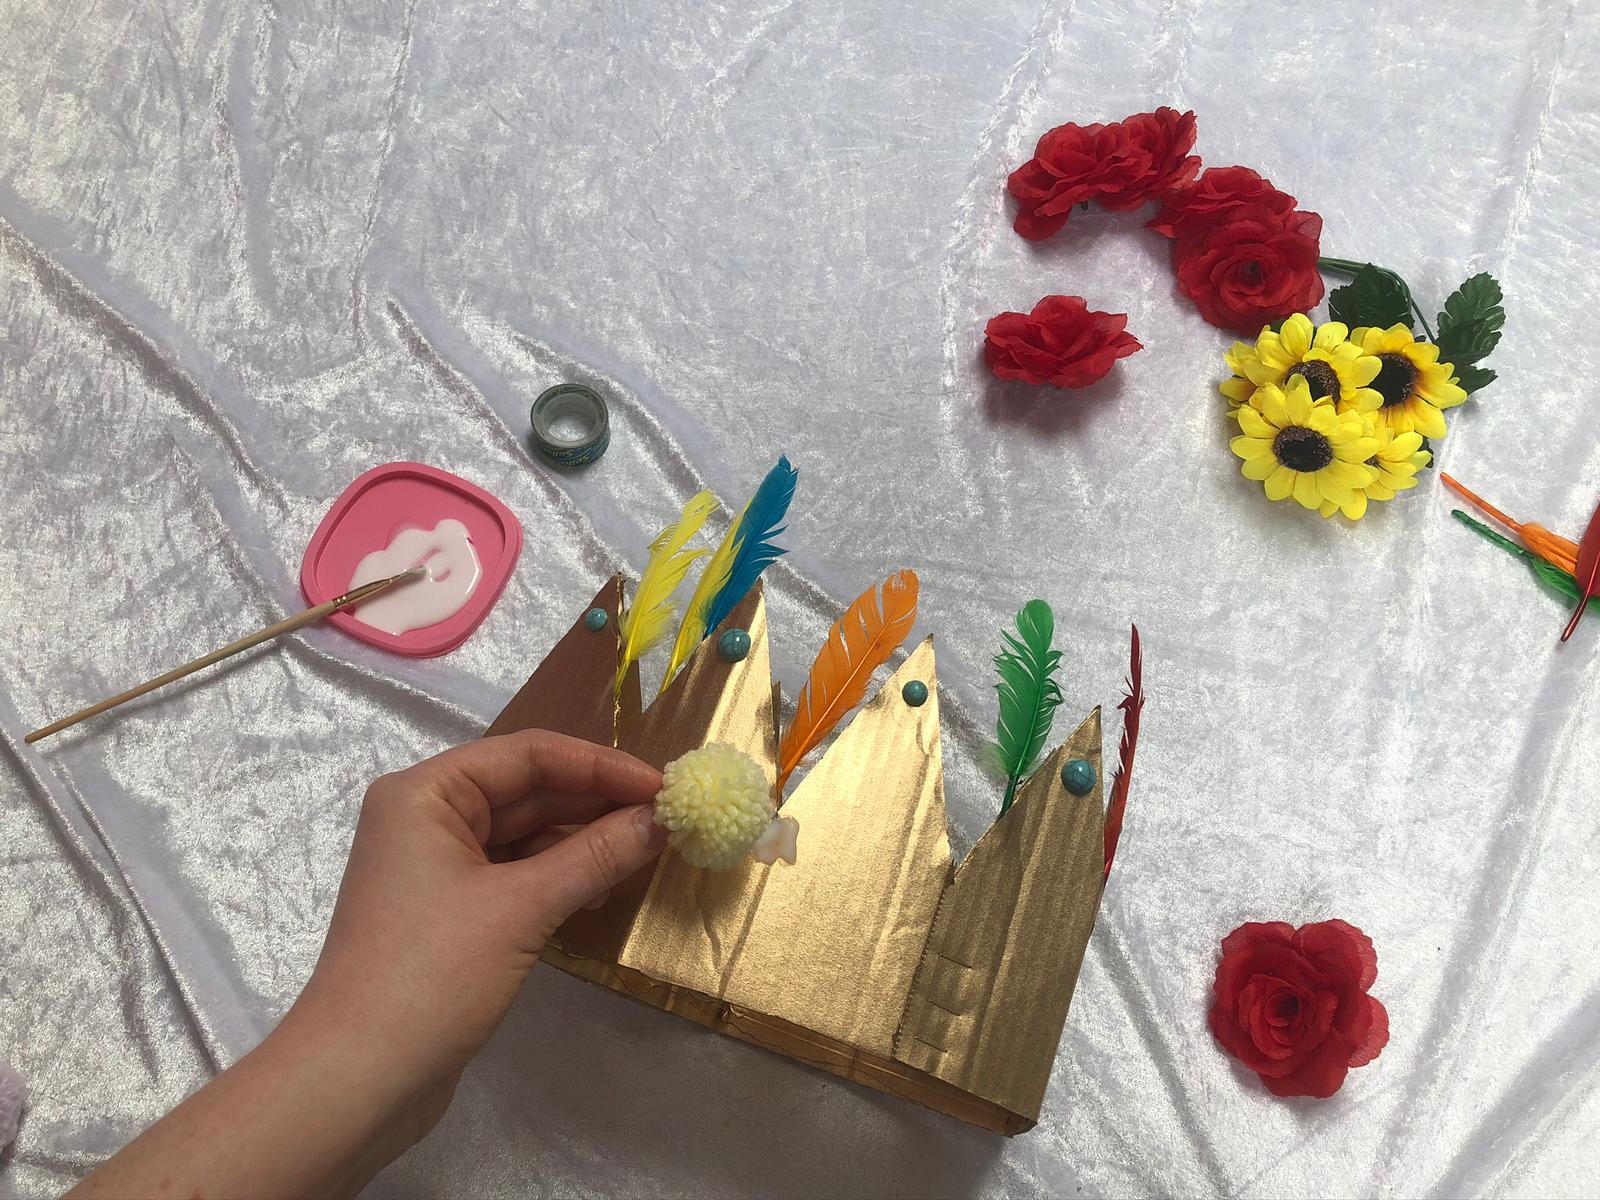
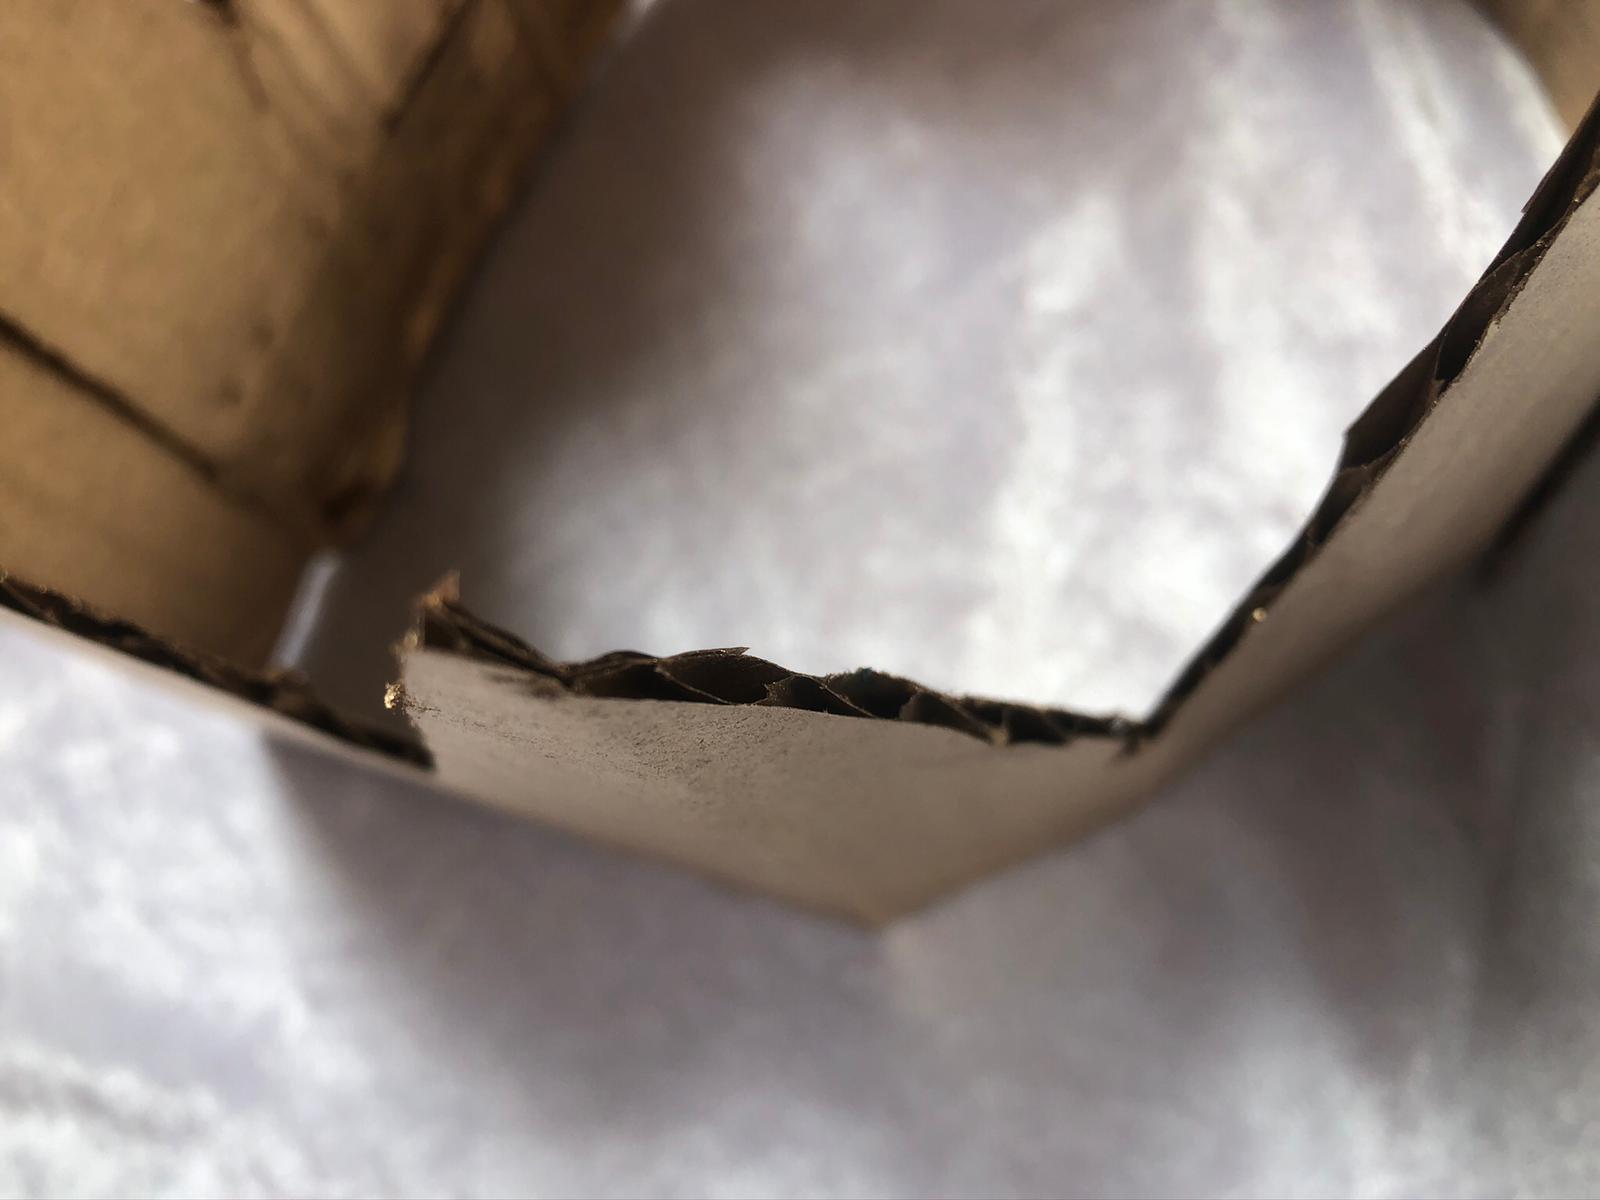
TIP: Thick cardboard has gaps inbetween its walls and this was perfect for me to push flower and feather stems into. You can put some glue on them before you push them in to make them extra secure.
Step 5
When you are happy that your headpiece suits your character, let all the glue dry and then wear it and work it! Make sure you send me pictures of what you have made by tagging @LivEveryPlay and use the hashtag #EveryPlayTime.